4. User Guide
This chapter provides guidance for configuring GeoHealthCheck’s (GHC) actual tasks: healthchecking API services on (OGC) URL Endpoints. It is written from the perspective of the end-user who interacts with GHC’s webapp (UI).
This chapter contains figures of screenshots. Click on a figure to see a larger version of the image. Use the back-button to get back into this document. This chapter can also be found by pressing Help (top menu) within the Web UI.
4.1. Terminology
The following terminology applies:
Resource: basically an endpoint URL, like an OGC WMS, FTP URL, or plain old weblink. For OGC-Resources this is always the root-URL, not the Capabilities-URL. Each Resource has a Type (see below).
Probe: each Resource is tested via one or more Probes, a Probe is typically a single HTTP request, like GetCapabilities, GetMap etc. Each Resource (Type) has a default Probe.
Check: each Probe invokes one or more Checks, typically on the HTTP response. For example if a WMS GetMap returns an image object.
Run: the execution and scoring of a single Probe. Its Checks determine the Run outcome.
A Run in addition has a single verdict: Ok or NotOk.
Each User owns one or more Resources
The main user task within the web UI is to manage (add, update, delete) a set of Resources. For each Resource its various properties (scheduling, notifications, tags etc) and Probes is managed. Subsequently, for each Probe its various Checks are managed.
4.2. Registration
If the administrator of the GHC instance has enabled User Registration (GHC_SELF_REGISTER = True), any person can register and manage Resources on that GHC instance. A User can only manage its own Resources. The Admin user can always edit/manage any Resource.
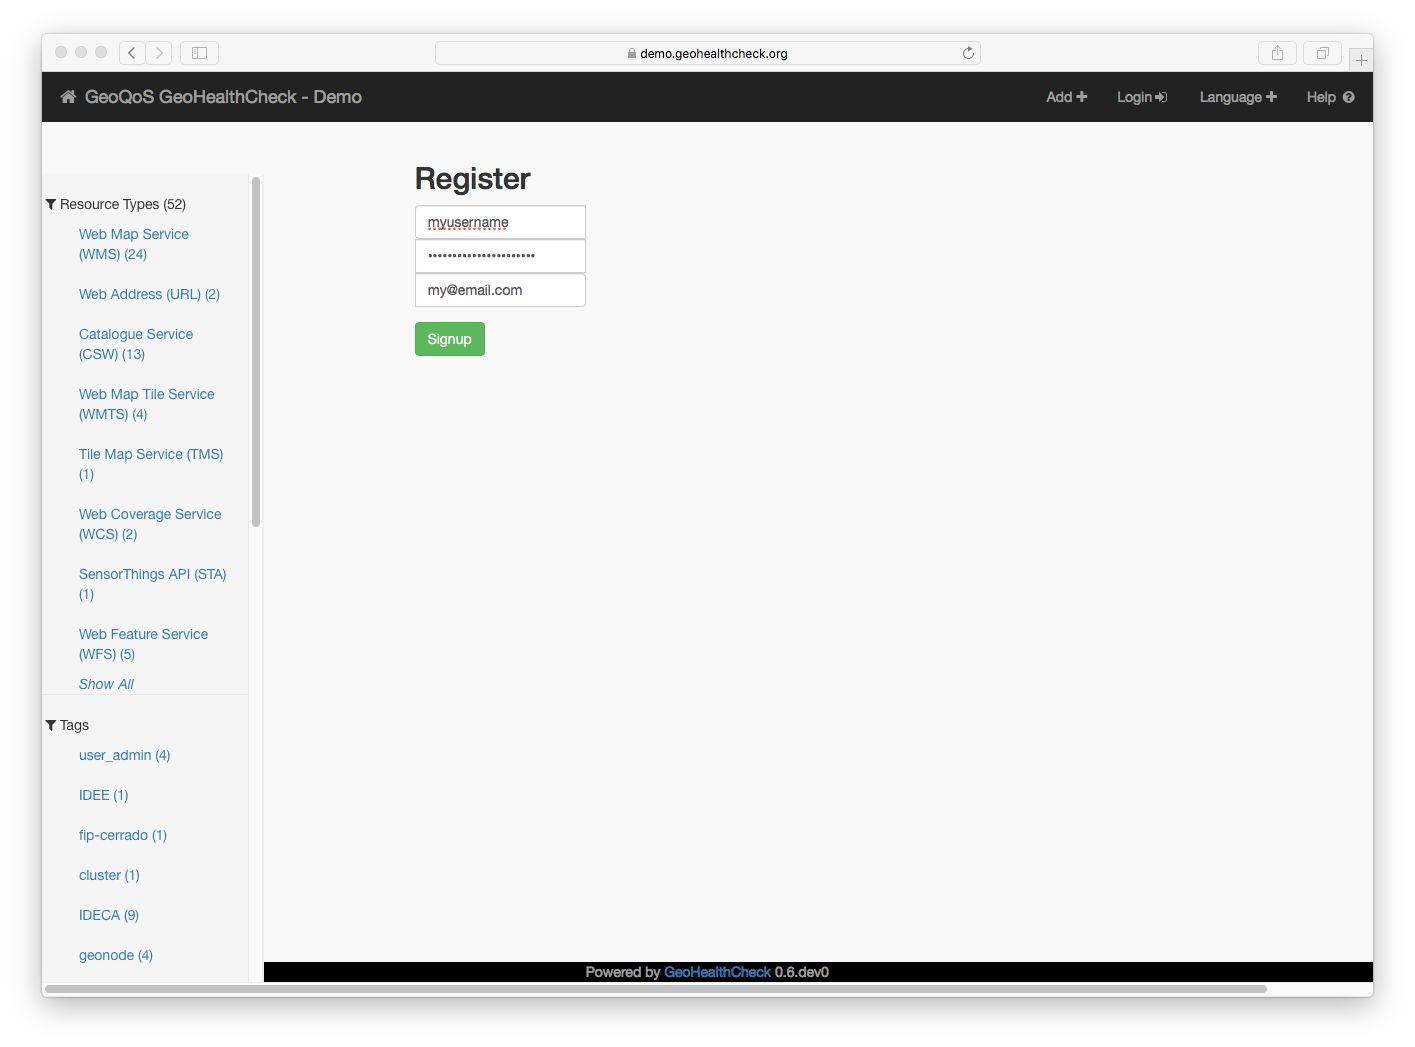
Registration
Start registration by clicking Login in menu and then the Register link within the Login screen. When registering, a working email adress is required if you want to receive Resource notifications by email and for password-recovery.
4.3. Home Screen
The initial home screen always shows failing Resources (if any). The badges on the top show percentages:
Operational: percentage of all Resources that is currently “up”/healthy
Failing: percentage of all Resources that is currently”down”/failing
Reliable: percentage of time that Resources are “up”/healthy within the retention window

Home Screen
Using the vertical menu items on the left different lists of Resources can be shown: either by Resource Type (like WMS in Figure below), or by Tags (discussed later).

WMS Type Resource List
Clicking the Home icon (top left) brings back the initial home screen.
4.4. Adding Resources
Click the Add+ button in the top menu to add a new Resource.
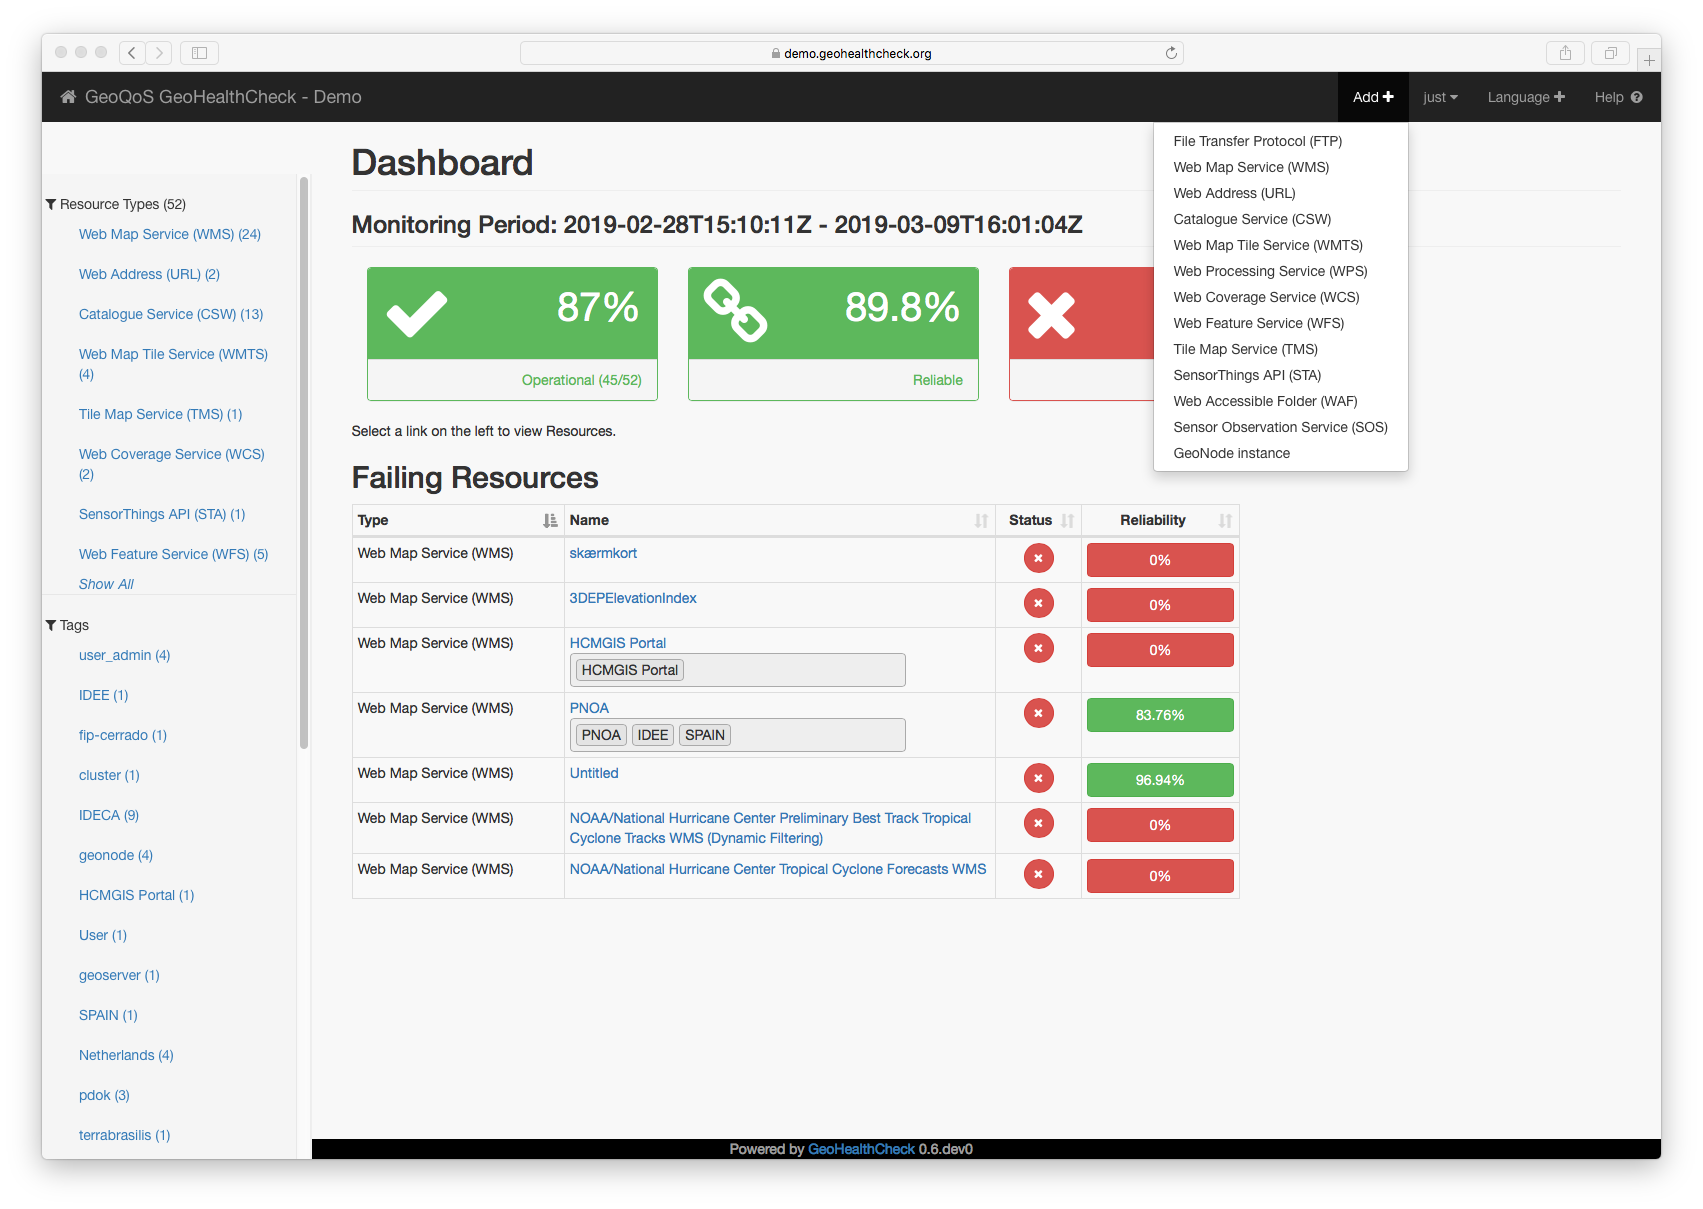
Add Resource - Select Type
First choose a Resource Type from the dropdown menu. The following Resource Types are available:
Web Map Service (WMS)
Web Feature Service (WFS)
Web Map Tile Service (WMTS)
Tile Map Service (TMS)
Web Coverage Service (WCS)
Catalogue Service (CSW)
Web Processing Service (WPS)
Sensor Observation Service (SOS)
SensorThings API (STA)
OGC Features API (OAFeat)
Web Accessible Folder (WAF)
Web Address (URL)
File Transfer Protocol (FTP)
GeoNode autodiscovery (see GeoNode Resource Type)
GeoHealthCheck Reporter (GHC-R) (see GeoHealthCheck Reporter Type)
Next fill in the URL and optional tags for the Resource.

Add Resource - specify URL and optional Tags
Fill in the endpoint URL, like an OGC WMS, FTP URL or a weblink for the Web Address Type. For OGC-Resources this should be the root-endpoint-URL, not the Capabilities-URL.
You can add new or existing tags as well here. On Submit, the Resource will get a single default Probe assigned. For OGC-Resources this is usually a CapabilitiesProbe. If successful you are directed to the Resource Edit screen (see next).
4.5. Editing Resources
Open the Resource details by clicking its name in the Resources list at the Dashboard/Home page. Under the Resource title is a blue Edit button (if you own the Resource or as admin). When Adding a Resource (see above), you are automatically directed to the Resource Edit Screen.
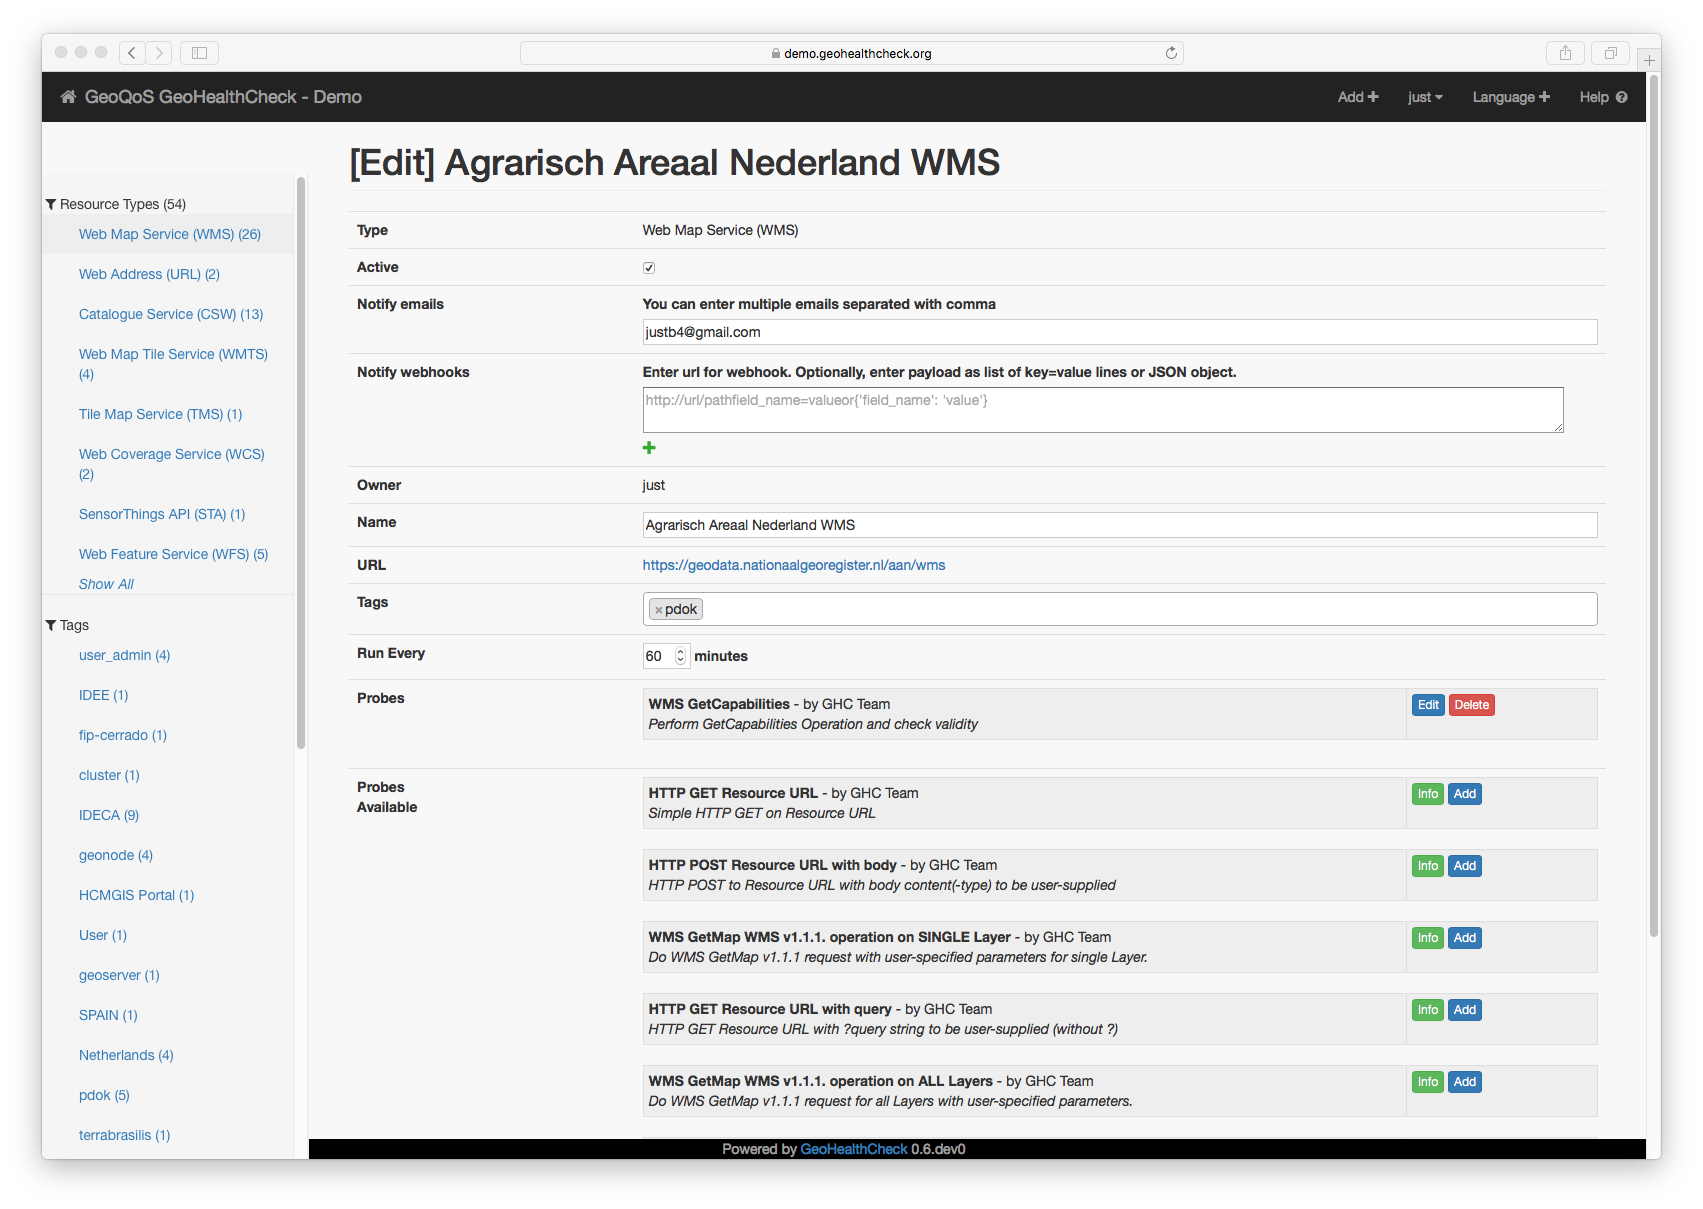
Edit Resource - Basics
The following general aspects of a Resource can be edited:
Resource name (initial Name may come from Capabilities or HTML title element if present)
Resource Tags
Resource active/non-active (makes Probes (in)active, e.g. when repairing a Resource)
Notification: recipient(s) for email (see Per-Resource Notifications)
Notification: target(s) and parameters for webhooks (advanced: see Per-Resource Notifications)
Resource run schedule, “Run Every” N minutes
Optional HTTP authentication (Basic or Bearer Token) for secured Resource endpoints
By default, when a Resource is created, the owner’s email will be added to the email-notifications.

Edit Resource - Edit Probe
The most important/functional aspects for a Resource are its Probes.
Manage Probes for the Resource: select a Probe from “Probes Available”
Optionally edit Probe parameters, fixed values have grey background
Manage Checks for the Probe, add by selecting from “Checks Available”
Optionally edit Check parameters

Edit Resource - Add Probe
Note that all “Edit” buttons with Probes and Checks are toggles to show/hide a Probe and/or Check.
Click Save to save all Resource settings and then click Test to test your Probes and Checks. NB Test only works on the Resource settings as saved! So Save, then Test.
4.6. Deleting Resources
Open the Resource details by clicking its name in the Resources list. Under the Resource title is a red Delete button.
4.7. Tagging
Each Resource can be tagged with multiple tags. This provides a handy way to structure your Resources into any kind of categories/groups, like Production and Test, common servers any other grouping.
4.8. Failure Analysis
As history builds up for each Resource, Users may get notified, usually by email, when one or more Probes fail for a Resource (and again when the Resource is healthy again). In this section we analyse a failing Resource (WMS).
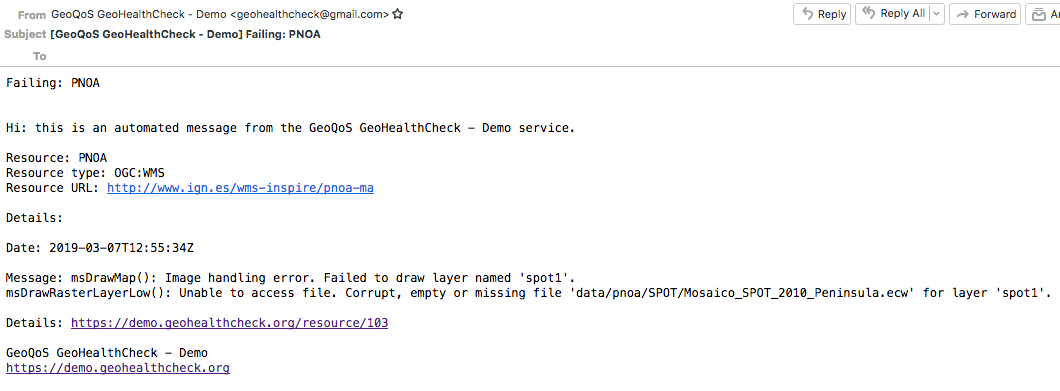
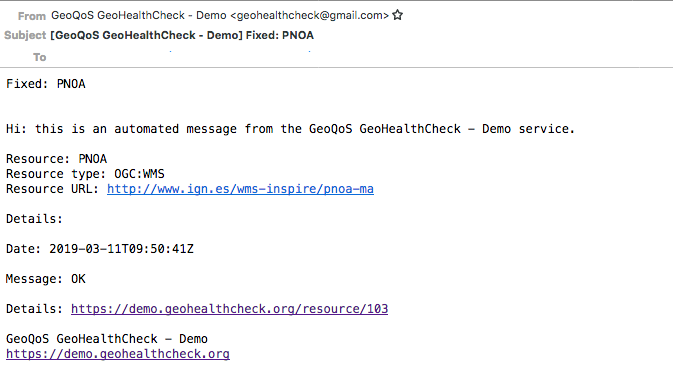
Email Notification - Failing Resource
This kind of email is received when the Resource has failed. We can already see in the message (showing the last message from one or more failing Probes) that something is wrong with an .ecw (compressed raster image) file within the WMS. We can click on the link to go directly to the Resource view within the GHC demo site.
NB: Dependent on the GHC_NOTIFICATIONS_VERBOSITY config setting, this email is received only once on the first failure (False) or on each failing Run.
In order to analyse “what happened”, the graph shown in the Resource view can be inspected. Below, this WMS Resource is shown.

WMS Type Resource View
As can be seen, this WMS Resource is now up (Last Run Result on top right) but has a Reliability of 57.56 percent. This means that within the retention window (one week for the demo site) it has been down for about half of the time. This Resource als has quite some Probes active, so is thoroughly tested each hour.

WMS Type Resource View - History
Scrolling down within the Resource view the History Graph is shown. Each Resource Run is presented by a dot. Red dots indicate that one or more Probes have failed in a Run. Green that all Probes gave success.
We see that this WMS has failed from somewhere on March 7, 2019 until March 11, 2019 when it became healthy again (last green dot right). Also the Resource has been made inactive for some time during failure as no dots are shown. The WMS itself may have been up though all the time! The is a classic case: the Capabilities Probe always succeeds, but more detailed WMS GetMap Probes may have failed. We can inspect this in more detail from the history graph.

WMS Type Resource View - History Detail
The History Graph can be explored in detail by simply hovering the mouse over its dots. Also the graph can be zoomed in/out and panned, even with the mouse wheel. For each dot the overall result is shown: Date/Time of Run, Duration (of all Probe runs), Message (Ok, or error message). By clicking the Show-button the full Run report, i.e. all Probe and Check results for that Date/Time are shown in a popup panel.
Here we can see more detail for this WMS: the WMS GetMap and two other WMS GetMap-related Probes like WMSDrillDown, have failed, because an image file (.ecw file) could not be opened/found. This is a classical example why you would need GeoHealthCheck: GetCapabilities always succeeds on the service endpoint, but more detailed GetMap requests fail!
The last run within the history is again success, so apparently the underlying issues have been repaired and the WMS is healthy again! For the last Run (green dot in graph), the email below is received.
Email Notification - Resource Ok Again
This kind of email is received when the Resource is healthy (Ok, True) again.
4.9. Per-Resource Notifications
Notifications for each Resource can be configured in the Resource edit form:
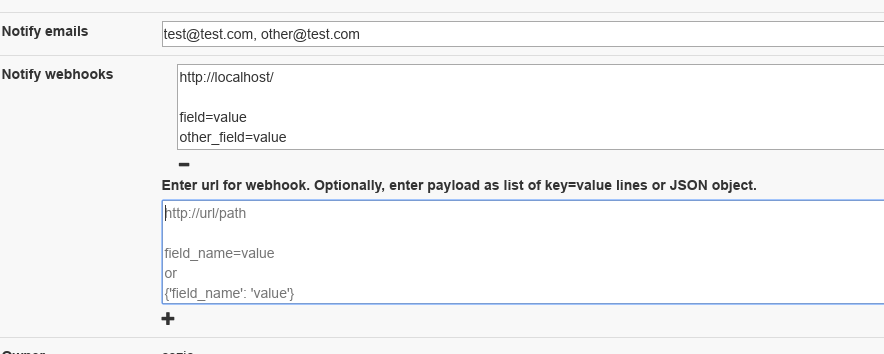
GHC notifications configuration
Note: if left empty, the global (email-)notification settings will apply.
Two notification channel-types are currently available:
4.9.1. Email
Notifications can be sent to designated emails. If set in the config, GeoHealthCheck will send notifications for all resources to emails defined in GHC_NOTIFICATIONS_EMAIL. Additionally, each resource can have arbitrary list of emails (filled in Notify emails field in edit-form). By default, when a Resource is created, the owner’s email is added to the list. The editing User can add any email address, even for Users not registered in the GeoHealthCheck instance. When editing an email-list for a resource, the user will get address suggestions based on emails added for other Resources by that User. Multiple emails should be separated with comma (,) chars.
4.9.2. Webhook
Notifications can be also sent as webhooks (through POST requests). A Resource can have an arbitrary number of webhooks configured.
In the edit form, the User can configure webhooks. Each webhook should be entered in a separate field. Each webhook should contain at least a URL to which the POST request will be send. GeoHealthCheck will send following fields with that request:
Form field |
Field type |
Description |
|---|---|---|
ghc.result |
string |
Descriptive result of failed test |
ghc.resource.url |
URL |
Resource’s url |
ghc.resource.title |
string |
Resource’s title |
ghc.resource.type |
string |
Resource’s type name |
ghc.resource.view |
URL |
URL to resource data in GeoHealthCheck |
A webhook configuration can hold additional form payload that will be sent along with GHC fields. Syntax for configuration:
first line should be URL to which webhook will be sent
second line should be empty
third line (and subsequent) are used to store the custom payload, and should contain either: * pairs of field and value in separate lines (field=value) * a JSONified object, whose properties will be used as form fields
Configuration samples:
URL-only:
http://server/webhook/endpoint
URL with fields as field-value pairs:
http://server/webhook/endpoint

foo=bar
otherfield=someothervalue
URL with payload as JSON:
http://server/webhook/endpoint

{"foo":"bar","otherfield":"someothervalue"}
4.10. GeoNode Resource Type
GeoNode Resource is a virtual Resource. It represents one GeoNode instance, but underneath auto-discovery is applied of OWS endpoints available in that instance. Note, that the OWS auto-discovery feature is optional, and you should check if your GeoNode instance has this feature enabled.
When a adding GeoNode instance Resource, you have to enter the URL to the GN instance’s home page. GeoHealthCheck will construct the URLs to fetch the list of OWS endpoints and create relevant Resources (WMS, WFS, WMTS, and other OWS Resources). It will check all endpoints provided by the GeoNode API, and will reject those which responded with an error.
All Resources added in this way will have at least one tag, which is constructed with the template: GeoNode _hostname_, where _hostname_ is a host name from url provided. For example, let’s assume you add GeoNode instance that is served from demo.geonode.org. All resources created in this way will have GeoNode demo.geonode.org tag.
4.11. GeoHealthCheck Reporter Type
The GeoHealthCheck Reporter (GHC-R) Resource type allows users to receive a regular status summary report by email for the Resources in any local or remote GHC instance. Typically this is used for the local GHC instance. To setup:
in top-menu select Add | GeoHealthCheck Reporter (GHC-R)
in Add Resource screen add the site URL of the target GHC instance
Then in Resource Edit screen
if the target GHC instance requires authentication: in Authentication form field select Basic and fill in username and password
set Run Every field to a high value, typically 1440 minutes (every 24 hour)
click Edit button for the assigned GHC Email Reporter
set email field in Probe Parameters to one or more email adresses (comma-separated)
Warning
The Resource form-field “Notify emails” is not the target for the Email Report! It is used to report any possible errors for report assembly and email delivery.
Warning
Summary email reports may in cases be marked as spam by your email provider. In those cases you should greenlist (mark as non-spam) the sender email address.
Note
Tip: The GeoHealthCheck Reporter Probe uses the /api/v1.0/summary API call. You can always get the last status report message as text via the URL <GHC Instance URL>/api/v1.0/summary.txt for example https://demo.geohealthcheck.org/api/v1.0/summary.txt
4.12. Resource Authentication
Resource authentication allows a user to optionally add credentials to access a secured Resource endpoint. Currently two (HTTP) authentication methods are supported:
Basic Authentication: “classic” username and password based
Bearer Token: single token based
The default is None, i.e. no authentication.
Within the Resource Edit screen, whenever a user selects an authentication method, the related input form-fields are shown. Any credentials added are stored encrypted.
Resource Authentication has been implemented using GHC Plugins, thus may be extended at will.